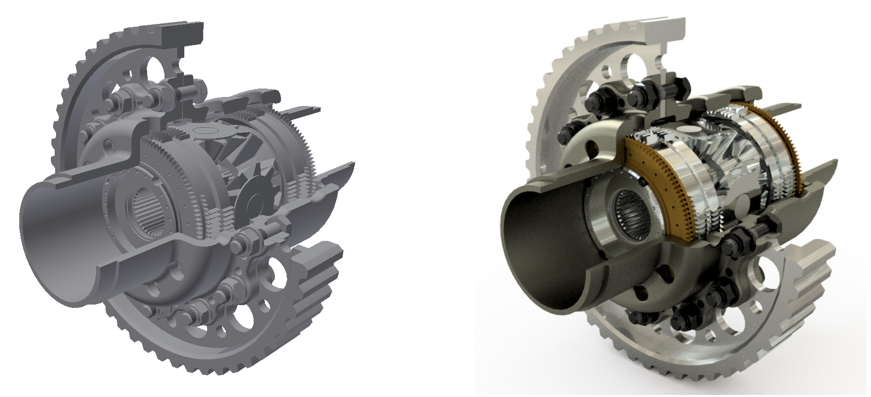
5 Steps to Making Your Project Colorful & Shiny

You have a design review with a client, and you need some photorealistic images, but need to get it done quickly!
Enter the world of Inventor Materials, Lighting, Shadows, Rendering and Cameras
Let’s look at how we get from dull and gray to colorful and shiny in 5 steps
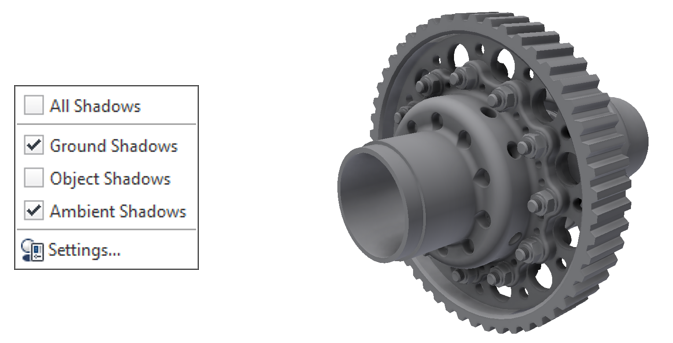
Step 1 – Shadows
I always start with turning on ambient shadows. When ambient shadows utilized, it looks more realistic, with shadows added to corners and other dark areas of the scene. These shadows are the result of occlusion or the blocking of objects by other objects. Let’s turn on Ground and Ambient Shadows
Step 2 – Lighting the Scene
There are three types of lighting methods used in Inventor: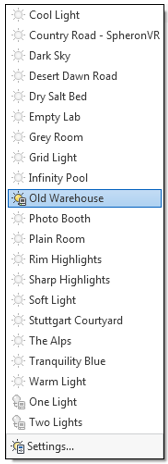
- Standard lighting
- Image Based Lighting
- Combination of standard and image-based lighting
For this project, we are going to use the Image Based Lighting method; we will choose the Old Warehouse as our lighting preference.
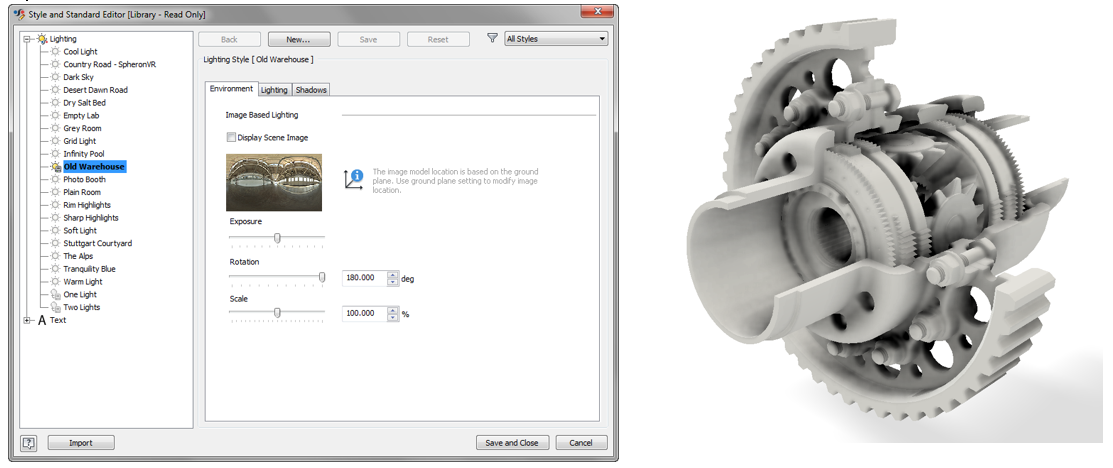
The “Settings” selection at the bottom will open the Style and Standard Editor; this contains controls so we can make additional adjustments to the Environment, Lighting, and Shadows. I like to turn my ambient shadows, up a bit to accentuate the details in the model, but not too much that it completely blacks out details, the controls for this is in the Shadows tab.
When using an IBL lighting method, the background of the IBL is on by default. For this project, we want to use a solid white background and only utilize the light and reflection of the environment, so we will unselect
Display Scene Image.
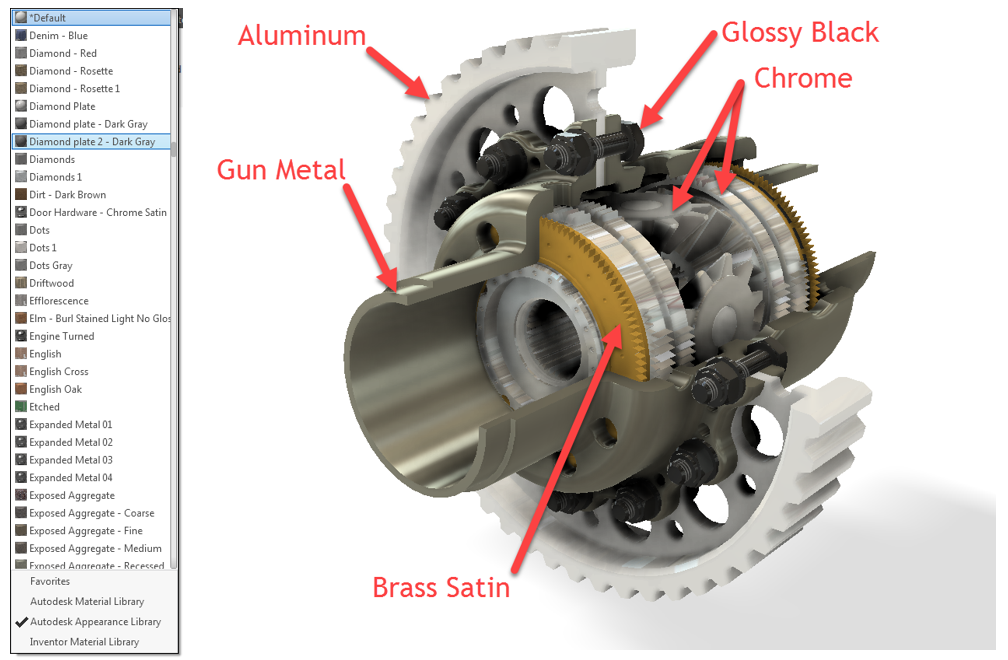
Step 3 – Adding Materials
There are three types of material libraries in Inventor, Autodesk Material Library, Autodesk Appearance Library and finally the Inventor Material Library.
This link gives in-depth details of each library:
We are going to use the Autodesk Appearance Library for this project. This library contains the largest selection of materials of the three material libraries. These materials can be used downstream by other products in the Autodesk portfolio that have the same library.
Let’s assign some materials:
Step 4 – Rendering our Scene
On the “View” tab there is a Visual Style icon, if we select this we get various visual styles to choose from, for this project we will choose the “Realistic” option. You will notice the Ray Tracing icon is now able to be selected and this will start the render of our image. Also, verify that your camera setting is perspective.
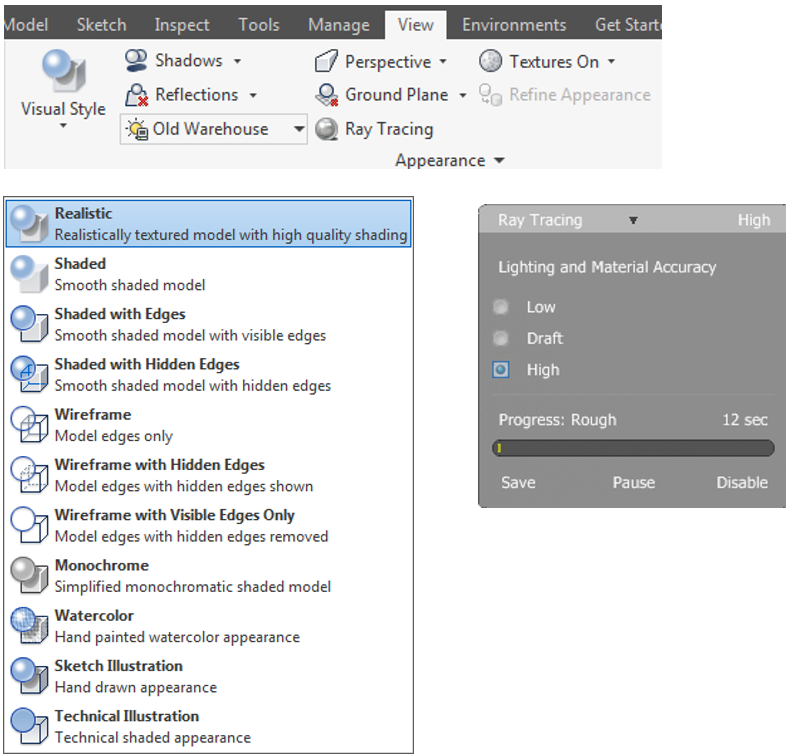
Let’s choose Ray Tracing, in the lower right-hand corner of the screen; we are going to use the “High” setting, this will give us the maximum reflectivity, shadows, and lighting for our project. This process is iterative, where the longer the computer is working on the image, the higher the quality. We will wait for about 5 minutes and have a great quality image for our presentation.
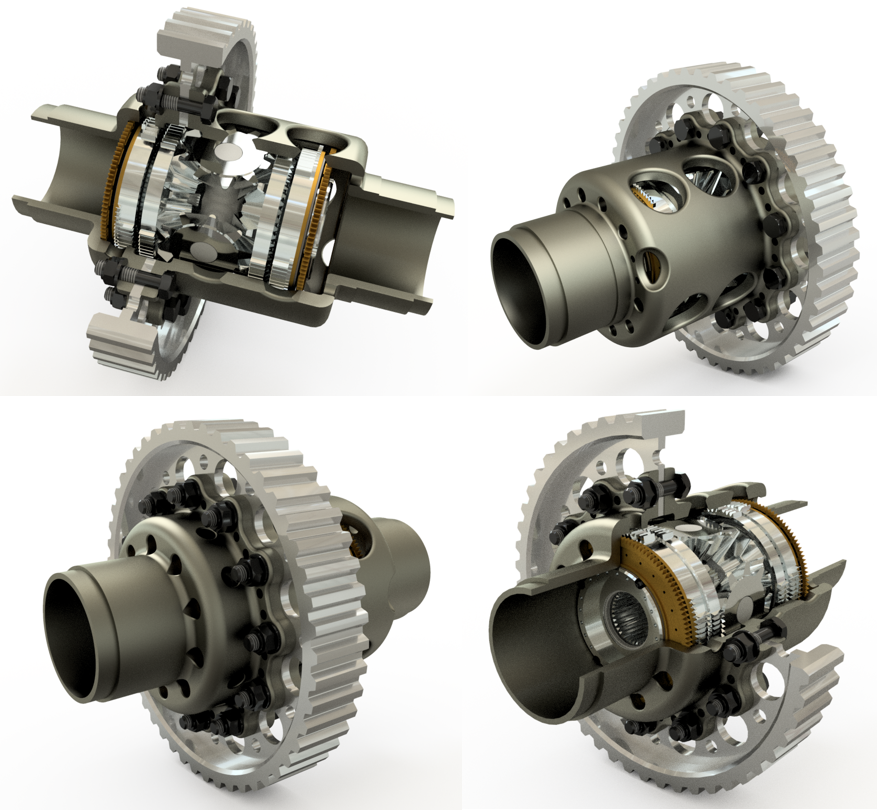
Step 5 – Adjust the Camera
Typically, a review requires more than one image, so I will orbit the camera in the assembly space and render some different angles to show different detail.
Tip: I created multiple design views so that I could quickly switch to different camera angles.
Here is a link to an additional resource on the creation of a photorealistic render:
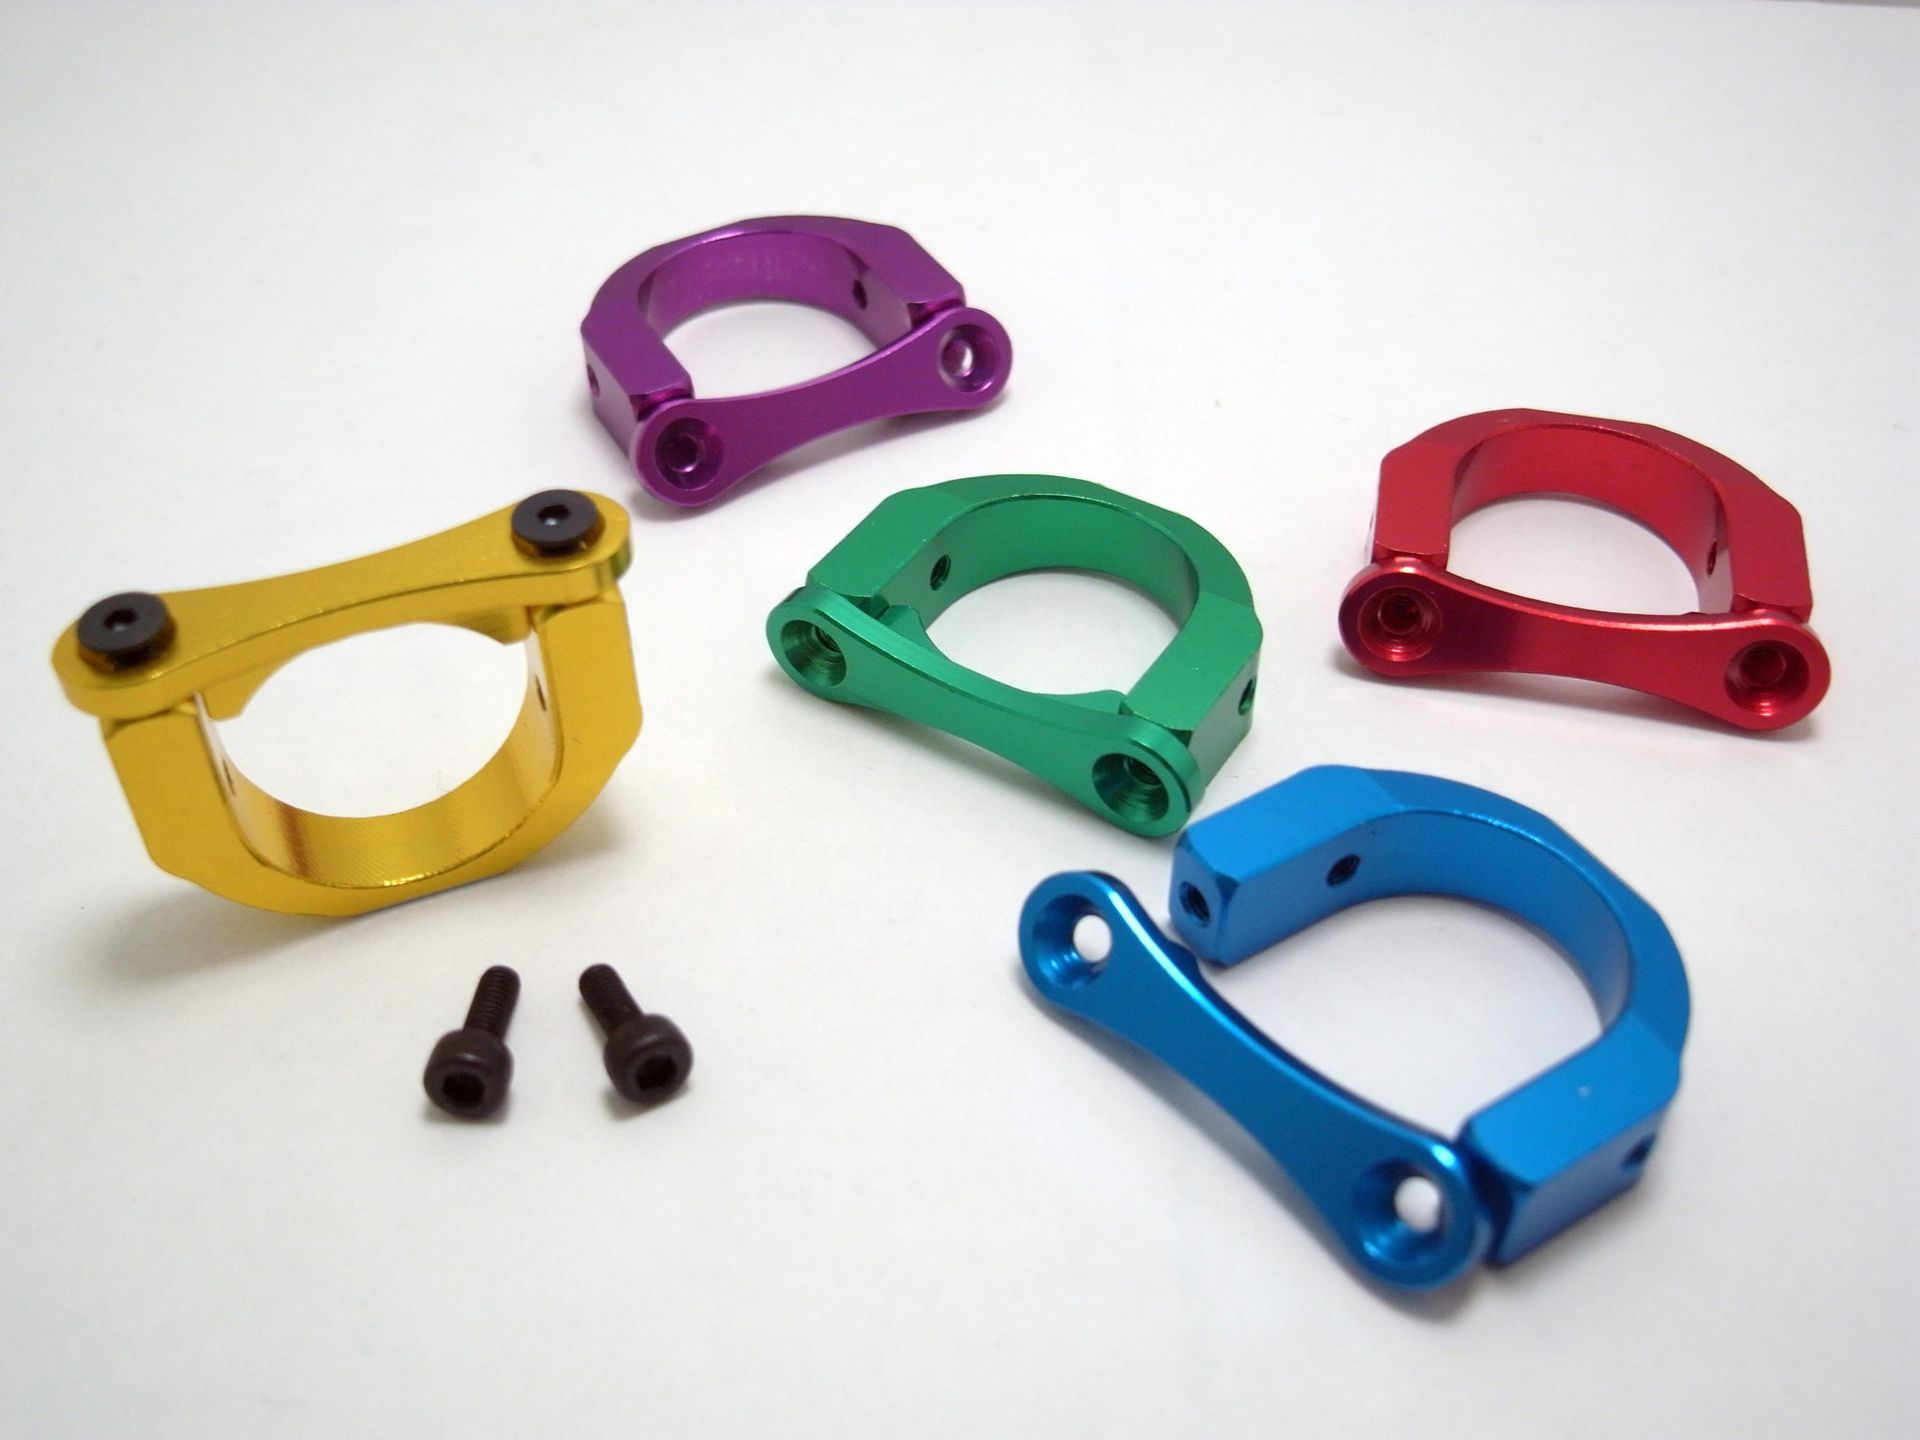
Here are some final images with different viewpoints. All in all, the entire process took 30-45 minutes to complete the images.
Chris Hall – Product Manager, Inventor Product Line
The post 5 Steps to Making Your Project Colorful & Shiny appeared first on Inventor Official Blog.